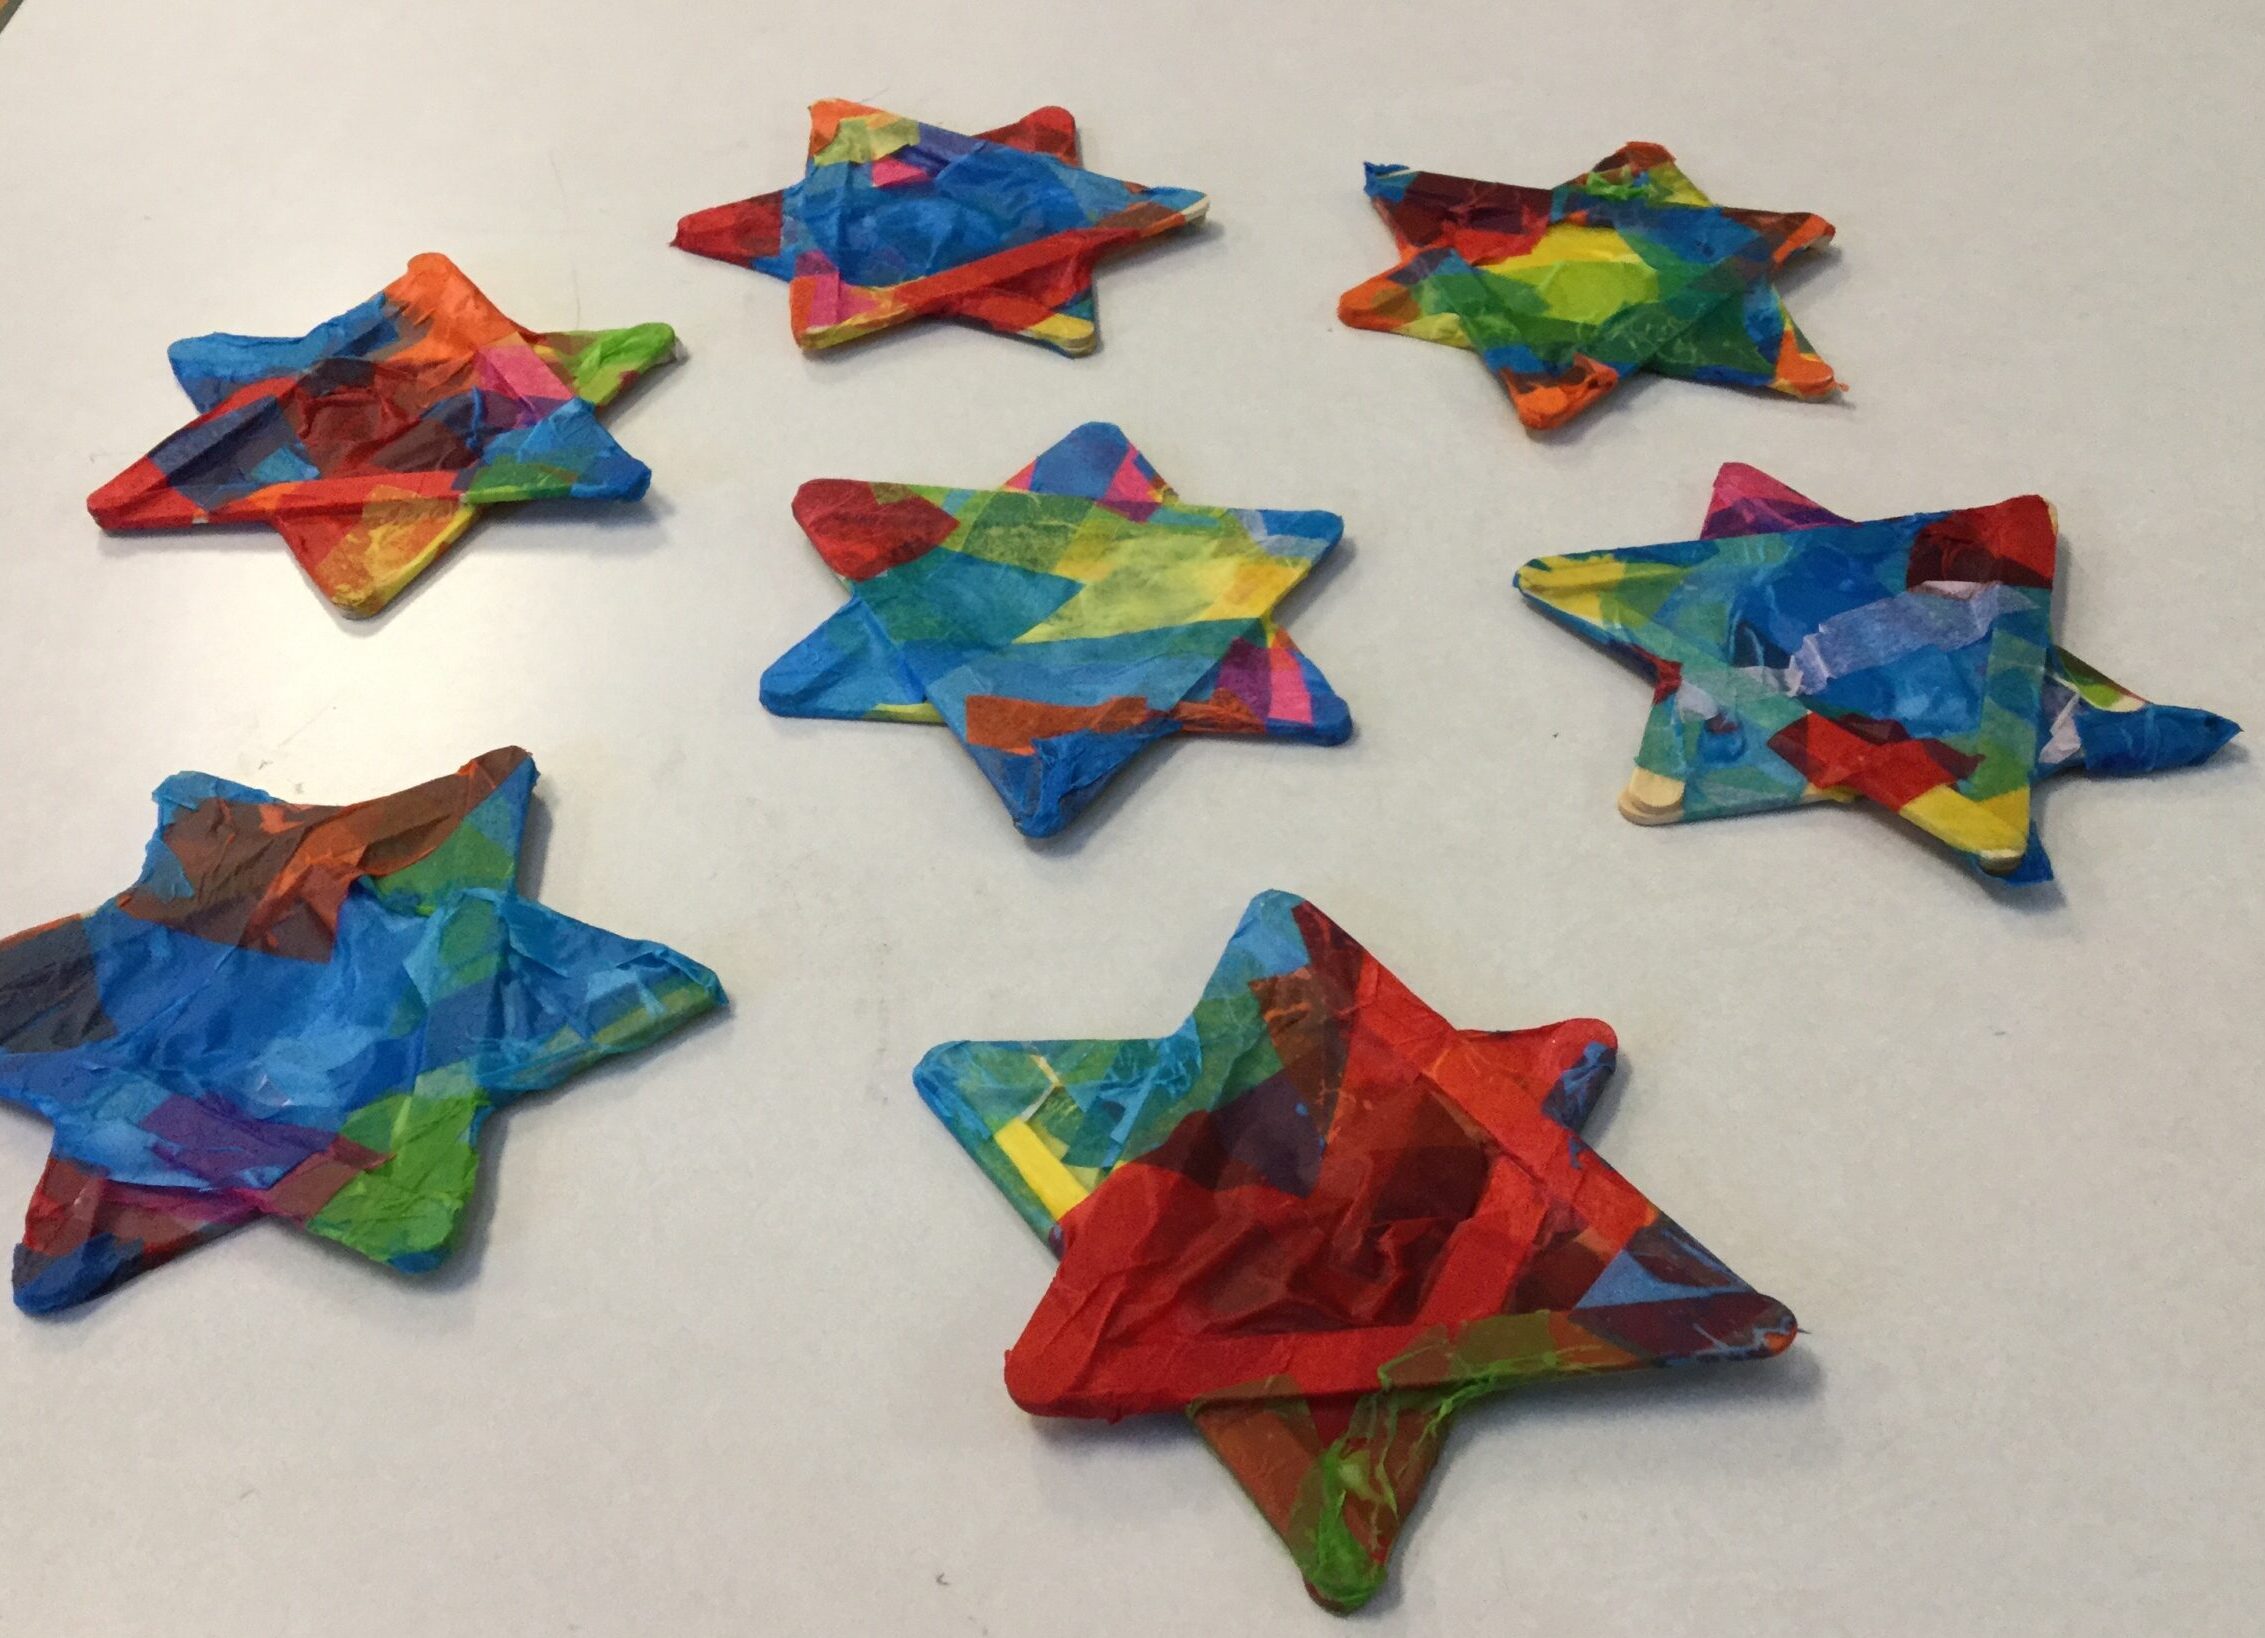
These tissue paper “stained-glass” star ornaments are the perfect craft to send home during the holidays!

Stained Glass Star Ornament Craft Materials:
- Popsicle Sticks – 6 popsicle sticks for each ornament.
- Tissue Paper – Various colors cut into strips and squares.
- Bottle Glue
- Water
- Paintbrushes
- Colorful Ribbon – Cut into 7-inch strips
Assemble The Star Frames
Create the star frames by gluing three popsicle sticks together to make an equilateral triangle. Make two triangles for each ornament.
Let the triangles dry separately for about 10-15 minutes. Once they are dry, place the triangles on top of one another facing opposite directions to see where they will connect. Add a few dots of glue and press the triangles together until they stick on their own. Set the star frame(s) aside to dry.
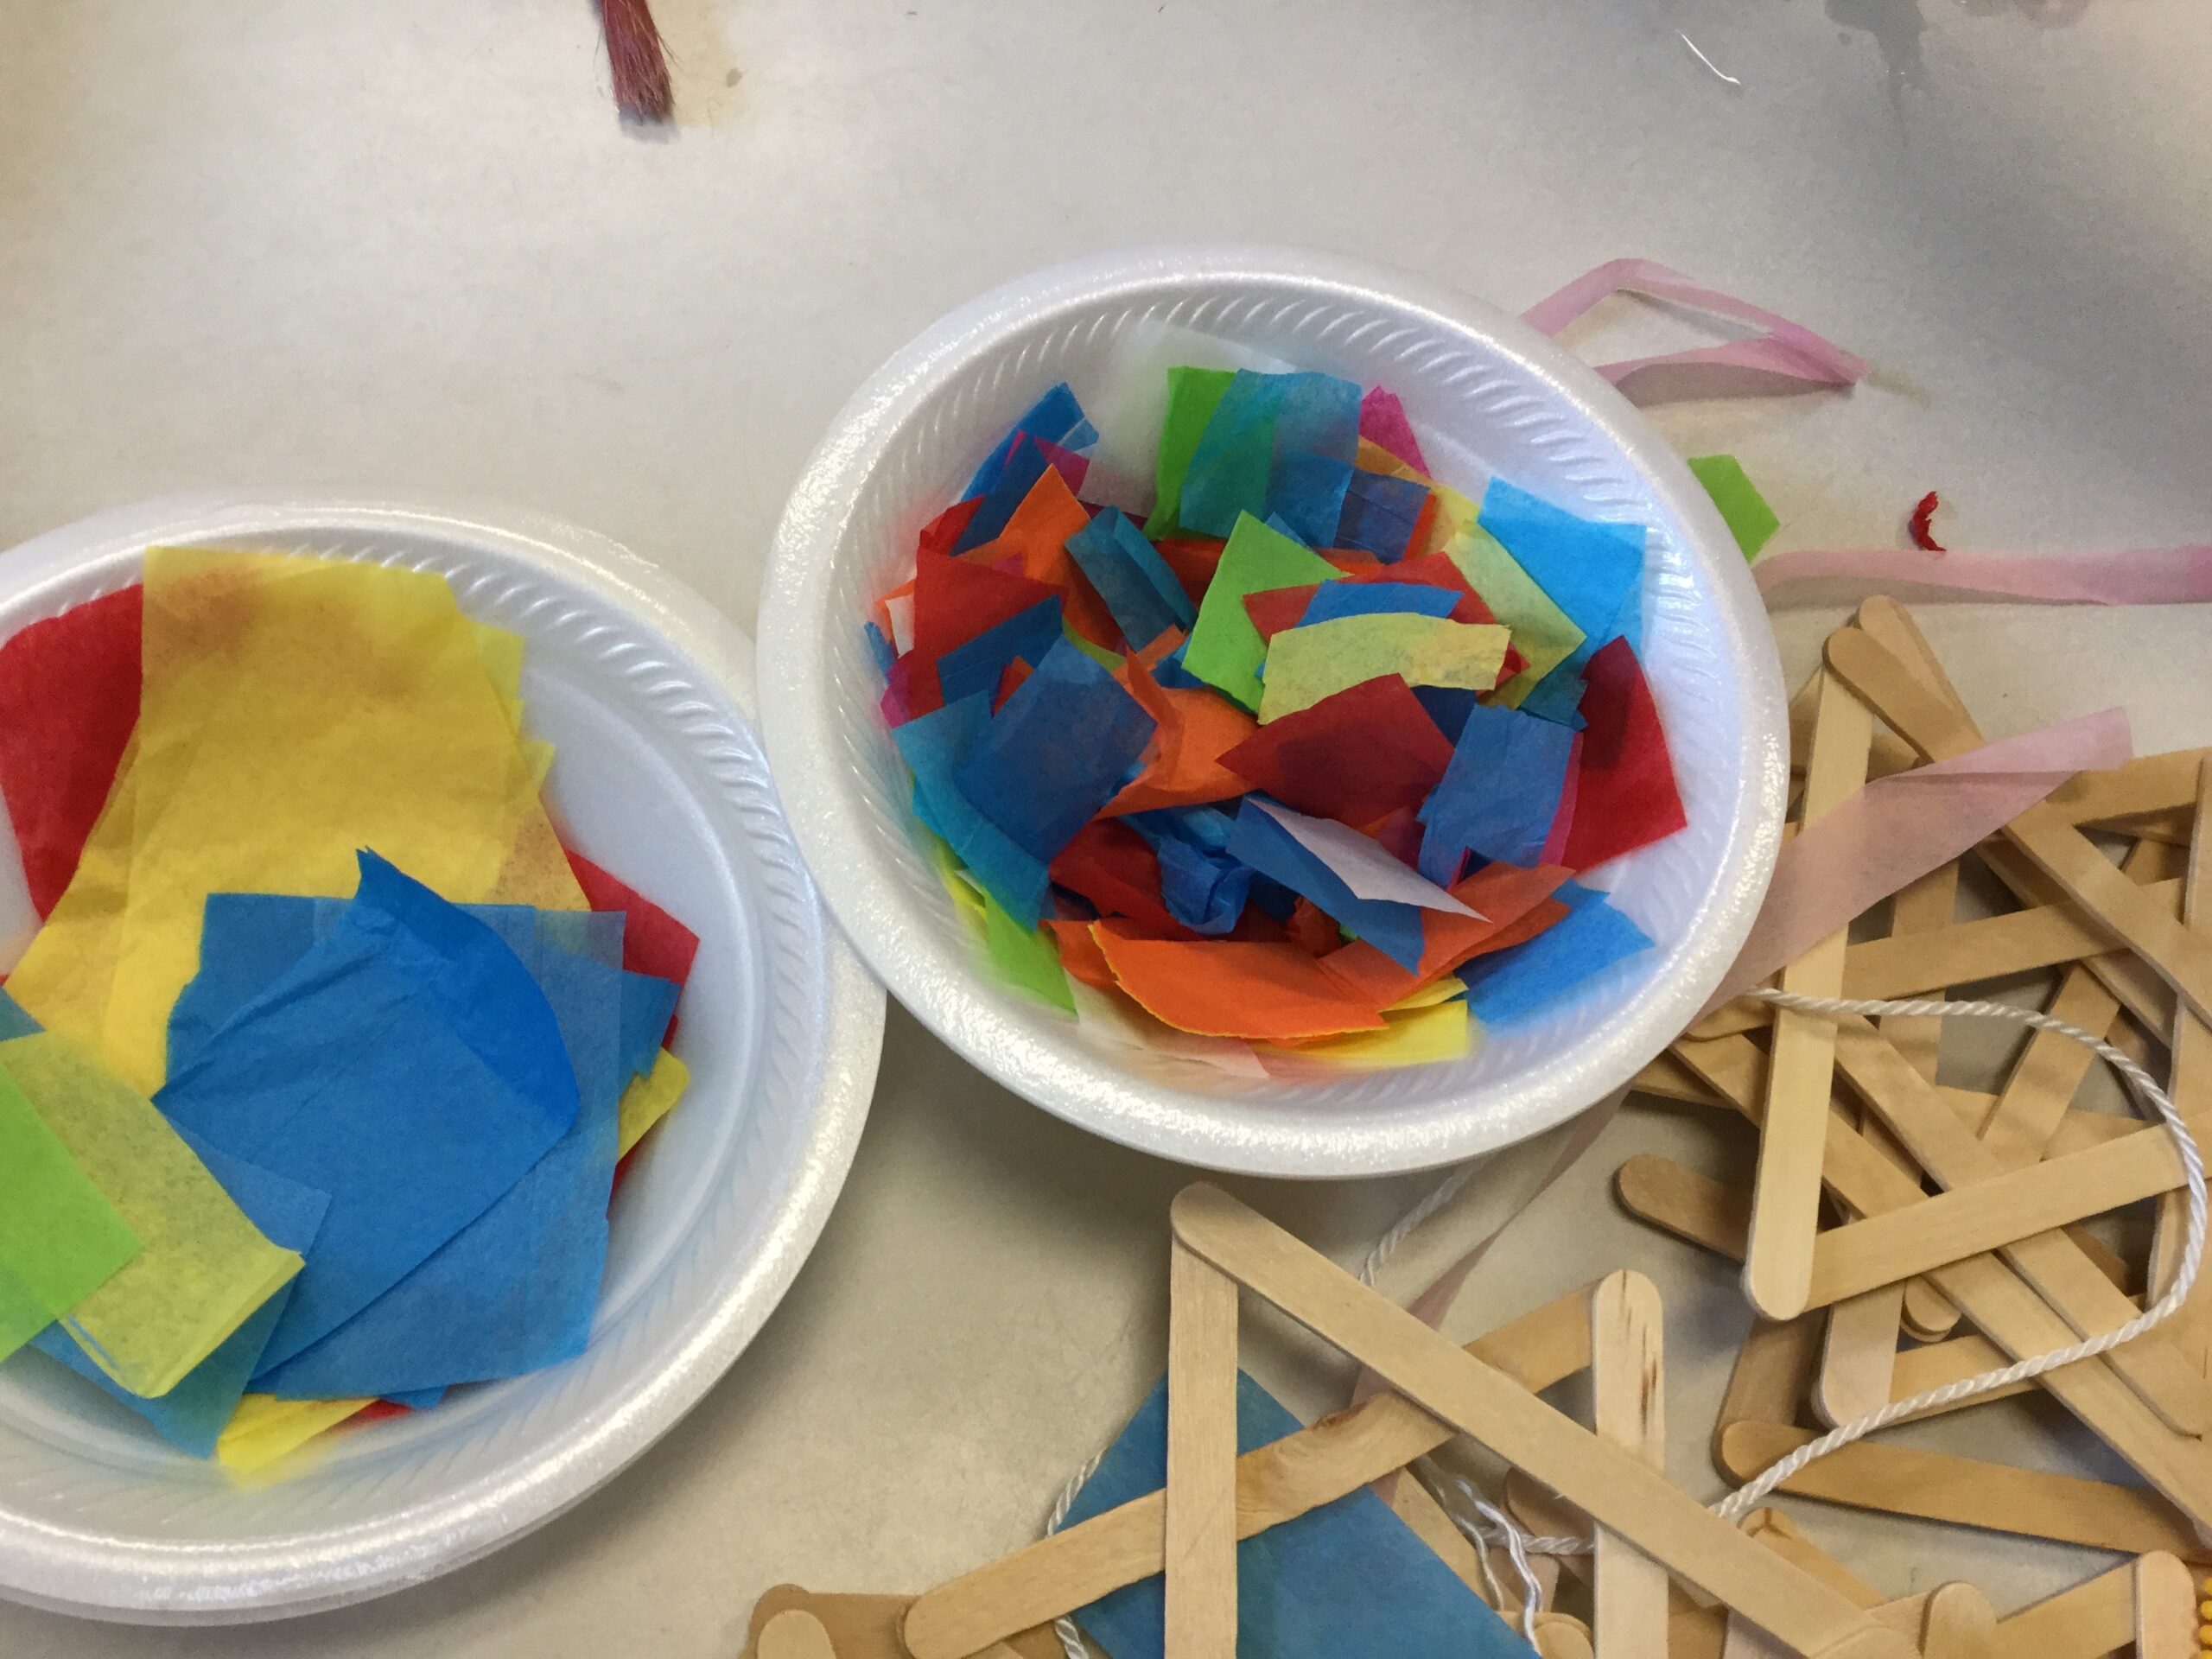
Place the tissue paper pieces in a bowl and set out on tables along with the star frames.
In another bowl, add some water and a small amount of glue. You only need a little bit of glue and mostly water to make the tissue paper stick to the star frame.
For The Craft:
Lay pieces of tissue paper over the popsicle sticks and paint the glue mixture on, starting where the paper touches the popsicle sticks. The glue mixture will soak through the tissue paper and, when it dries, all the tissue paper pieces will be permanently attached to the star frame!


The Final Steps
Use a paintbrush dipped in the water/glue solution and smooth out the edges of the tissue paper pieces. Fill in any gaps with a little extra tissue paper and touch them up a little bit.
Place the completedornaments aside and let them dry for 30 minutes to an hour. Some kids may go overboard with the glue water so those may take a little bit longer to dry!

Once the tissue paper is dry, you can write each student’s name and the year on the ornament with a Sharpie.
Poke a little hole through the tissue paper near the inside of the top point on the star using a well-sharpened pencil.
Thread a piece of ribbon or string through the hole and tie it in a loop so it can hang in a window, or anywhere the sunlight can shine through!
SaveSave


Leave a Reply